
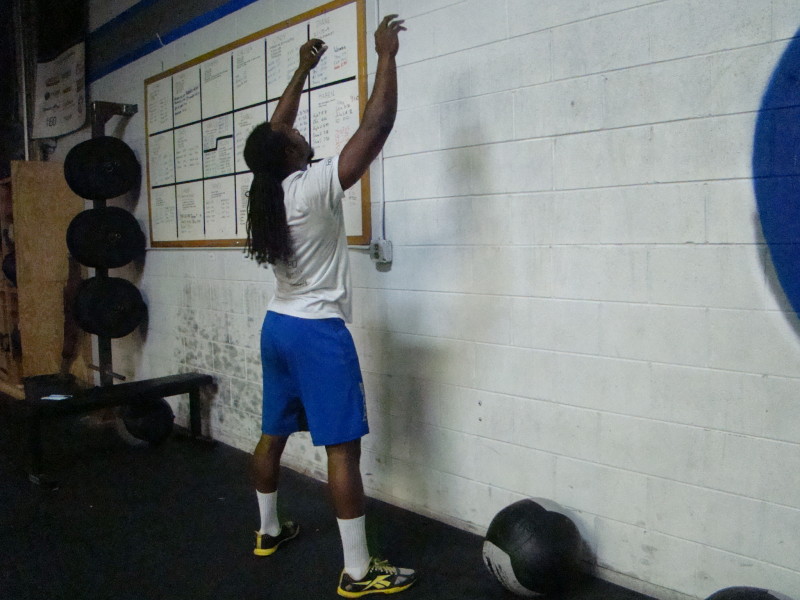
Strength:
All Levels: Deadlift 5×5 (add 10 pounds)
Conditioning:
12.4
Competition:
AMRAP 12:
150x Wall balls (20#/14#)
90x Double-unders
30x Muscle-ups
L2:
AMRAP 12:
150x Wall balls (20#/14#)
90x Double-unders
30x C2B
L1:
AMRAP 12:
75x Wall balls (20#/14#)
90x Double-unders
30xPull-ups
Take a minute to read more on the deadlift. ESPECIALLY those who like to touch and go on the 5×5. I tell everyone to drop each rep for a reason.
Breaking Down the Deadlift
by Mark Rippetoe
The deadlift is the most basic, obvious movement in barbell training, the one with the most carryover to everyday tasks and the easiest to learn of all the basic exercises. Let’s take it a step at a time and see what we can learn from this simple approach to an uncomplicated movement.
Stance Width
The stance width of a vertical jump is narrower than most novices’ deadlift, but it shouldn’t be. A push into the floor should have the mid-foot directly under the hip joint, and this is the stance width that allows you to push the floor without losing force to any shear that will develop along a laterally-angled leg (the sumo stance intentionally widens the stance to artificially shorten the legs, and trades the benefit of a more vertical back for the inefficiency of the angled legs — but we’re not sumo-ing right now).
Toes
Most people jump with toes pointed slightly out, and this toes-out stance is very helpful for the deadlift. It gets the thighs out of the way of the belly, which helps set your back flatter and it gets the groin muscles and the external rotators involved in the pull. Konstantinovs demonstrates this when he pulls, as have many great deadlifters through the history of powerlifting.
Bar Position
Placing the bar about an inch from your shins puts the bar directly over your mid-foot, precisely where the bar wants to be anyway, because that’s the point over which the load balances.
When you stand up straight with your feet even, where are you in balance? On your toes? On your heels? Bad idea. In either of these positions, you have to exert more effort to stand than when balanced in the middle. The mid-foot is the place that’s furthest away from both those positions of imbalance. This also applies to the deadlift.
An intelligent person will verify this by watching YouTube videos of heavy deadlifts where he’ll see that every heavy deadlift travels up in a vertical path, sliding up the shins from a fairly vertical shin angle. Even if the lifter starts with the bar forward of this position, the bar will roll back to the mid-foot before it leaves the ground.
Likewise, this same intelligent person will notice that the bar locks out at the top directly over the mid-foot. Why would you intentionally pull the bar from a position that’s horizontally different from the one you’re pulling it to? Well, you wouldn’t unless you’re stupid, so that’s where the bar starts.
Grip
Your grip should be designed to make the bar travel the shortest possible distance to lockout, and this means that the arms will hang parallel to each other when you grip the bar. This is accomplished by taking the narrowest grip you can without your hands rubbing your legs on the way up. So your grip will be where your hands line up with the widest point of your stance.
Most novices take too wide a stance, and therefore too wide a grip. Most elite lifters take a close grip. Verify this for yourself. If your stance is correct, your arms will hang straight down when seen from the front and you’ll have pulled the bar the shortest distance it can travel to lockout.
During the process of taking the grip you do not move the bar, because you just intentionally put it exactly where it needs to be, over the mid-foot.
Setting Up the Pull
You haven’t bent your legs yet, but now you need to drop your knees forward until your shins touch the bar. This motion places the shins at a slight forward angle that leaves the bar over the mid-foot while in contact with the shins.
If you drop your hips, your knees will travel forward and shove the bar forward of the mid-foot. So don’t drop your hips.
Just after you touch the bar with your shins, push your knees out very slightly. This keeps your thighs lined up with your slightly pointed-out toes and allows your groin muscles and lateral hip muscles to engage during the pull.
If you’re a bigger guy, you’ll immediately notice that it’s easier to get in position over the bar if your thighs are out of the way of your gut, as mentioned earlier. The knees-out motion takes full advantage of the toes-out stance, the smartest thing to do as you prepare to pull.
Chest Up, Back Set
Now comes the most important part of the procedure. Squeeze your chest up to set your back. Don’t drop your hips like everybody else does, and like you’ve been doing, too. Just leave your butt where it is after your shins touch the bar and set your back from the top down by squeezing your chest up into thoracic extension and letting that wave of extension carry itself down to your low back.
It’s hard, because your back is fighting with your hamstrings for control of your pelvis and your back has to win. It may feel odd the first couple of reps, but as you warm up it will get easier. Regardless, the chest-up motion will always be the hardest part of the setup. The fact is, if it’s easy, you did it wrong.
The Deadlift is Not a Squat
You must understand this: you’re not trying to squat the weight off the floor with the bar in your hands. This doesn’t work, as you may have noticed if you’ve watched enough deadlifting to be informed about what really occurs when heavy weights are pulled off the floor.
When the weight gets heavy, you can drop your hips as low as you want to and push the bar as far forward as it takes to make you happy, but what actually happens before the bar leaves the floor is always the same: the bar comes back toward the mid-foot, the hips come up until the shoulders settle into position just in front of the bar, and the bar comes up in a straight line, if you haven’t messed up the pull too badly.
The shoulders-just-in-front-of-
By now you’ve looked again at all the deadlift videos and seen this position establish itself every time, regardless of whether the lifter initiated the lift correctly or incorrectly (if the lifter initiated the lift incorrectly, the hips rise and the back angle changes until the shoulders are just in front of the bar anyhow).
You can identify this position because the arms don’t hang straight down plumb, but rather hang at a slight angle when viewed from the side. While you were looking at them again, you also noticed the bar travels a vertical path. In fact, if you mess the pull up too badly (i.e. let it get forward of the mid-foot anywhere in the pull so that the bar path isn’t vertical) it won’t go up — unless it’s a sub-maximal attempt.
So squeezing the chest up as the best way to set your back merely incorporates the facts that you’ve gathered by watching the videos and informing yourself. If you set your back in the position it likes to pull from anyway, you minimize wasted motion before the pull and you create a simple procedure for doing it the same way every time.
The Lockout
All that remains is dragging the bar up your legs to lockout. “Dragging” implies contact, and contact all the way up ensures the vertical bar path; if you let it go forward as it passes your knees on the way up, you’ll have let it drift forward of the mid-foot, and thus gotten out-of-balance.
But if you’ve set your back correctly and started the pull with the bar over mid-foot, it will come up your shins and your thighs in a straight vertical line, which I’m sure you’ll agree is a mechanically pleasing configuration.
Less Bounce to the Ounce
Of course, you have to keep your back flat, and that takes strength in the lumbar erectors that can only be built with heavy deadlifts done correctly. It has become fashionable in random exercise/”functional movement” gyms to permit the use of bumper plates and a bounce off the floor for all the reps of a set of deadlifts after the first one.
This isn’t “functional” — no sane, responsible person picks up a heavy object by bouncing it off the floor because that might break something. An informed person knows that if you don’t use a muscle, you won’t train that muscle. Common sense dictates this fact, and no particular intelligence is required to arrive at this conclusion.
Simple observation tells us that people who bounce their deadlifts aren’t very strong off the floor. Experience informs me that if a 185-pound man with three years of barbell “training” comes to my seminar lacking the ability to deadlift 300 pounds with a flat back, he’s probably been bouncing his deadlifts.
The lumbar erectors are the muscles that hold the lumbar spine in extension. If you fail to use them for that purpose during a deadlift, they won’t adapt to this isometric task, and you’ll have turned the most basic back exercise in the gym into a ridiculous circus trick.
Let’s be honest: you bounce your deadlifts because it’s easier to do more reps that way. But you know this already, because you were never ignorant.
Reset all your reps and make your low back get strong enough to hold itself flat during a maximum deadlift attempt. Even if more reps are the goal, a stronger back is the only way to achieve it.
There may be a slight tendency for the bar to drift forward as it comes off the floor. When this happens, it’s usually because you’ve rocked forward during the setup so that your weight is forward of the mid-foot. Shoes with heels can do this, as can a misperception of your start position.
If this happens, you’re probably too far forward, with your shoulders too far in front of the bar and your back too horizontal. To correct this, rock back off of your toes, reset your chest up, and think about actually pushing your mid-foot into the floor, instead of pulling on the bar.
That wasn’t so hard, was it? Do your deadlifts correctly, efficiently, and with impressive weights. Usually, the simplest method is the smartest method to use.